

Fanvue Home Studio and Lighting on a Budget
Build a Fanvue home studio without spending much: window light, DIY reflectors, one good lamp, a tidy backdrop and the privacy checks to run first.
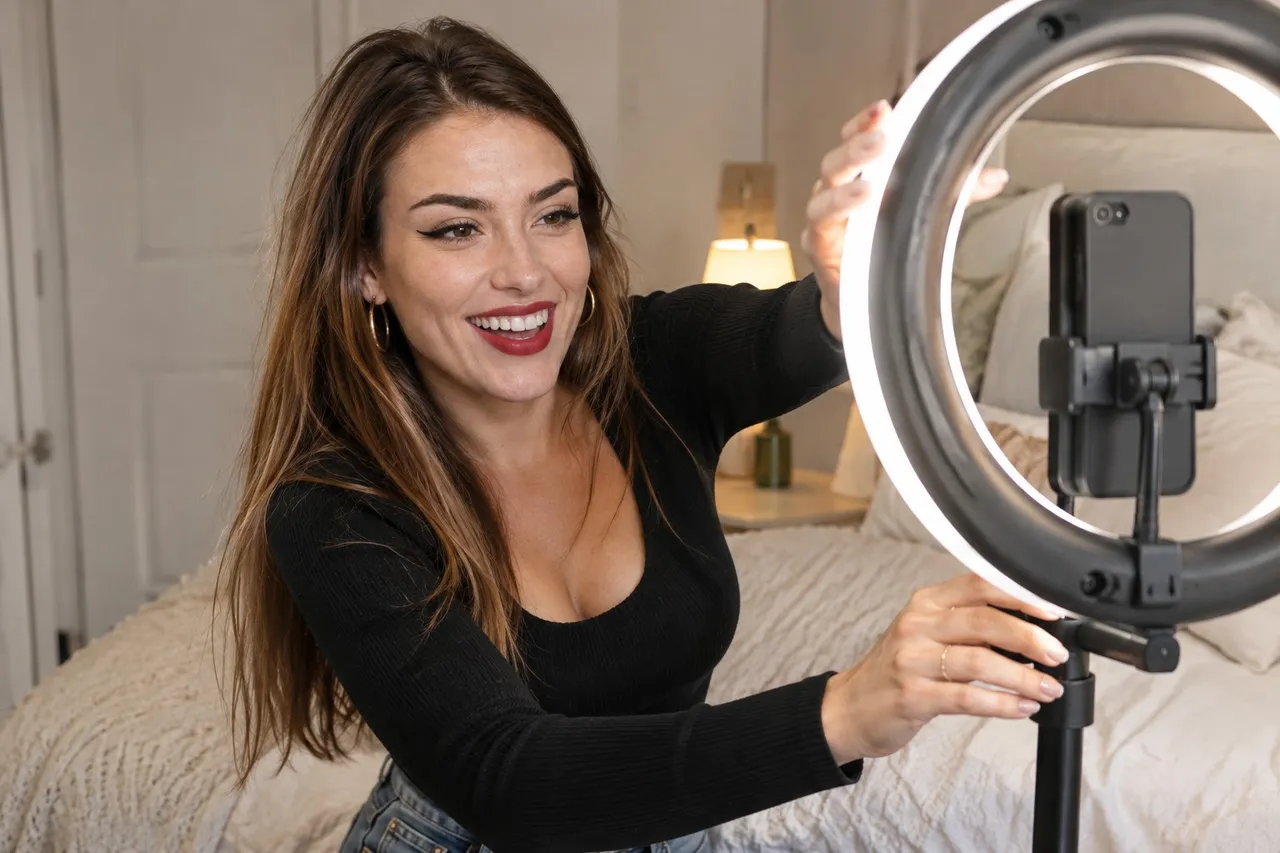
A budget Fanvue home studio starts with one corner near a window, a thin white curtain to soften the light, and a white sheet or foam board to bounce light back into shadows. Add one dimmable lamp or ring light for evenings, keep every bulb the same color, and clear personal details out of the background before you shoot.
You don't need a spare room or a pile of gear to make your content look polished. One well-chosen corner, some light you mostly already own and a few household tricks will do most of the work. Here's a simple setup that works.
📸 That's Kinsley on our cover.
💜01. Pick one corner and make it yours
Choose a spot you can shoot in again and again without rearranging the whole room. Near a window is ideal. A consistent spot means consistent light, which makes your feed look planned instead of random.
Keep the backdrop calm: a plain wall, a made bed with neutral sheets, a sofa with a throw, or a corner with one plant. Clutter pulls the eye away from you. A few signature touches, like the same blanket or a string of warm fairy lights, help fans recognize your content at a glance.
💜02. What's the cheapest good lighting for content?
Daylight. A window to your side or in front of you gives soft, flattering light for free. If the sun is harsh, hang a thin white curtain or bedsheet over the glass. It spreads the light out like a professional softbox does.
Next, bounce it. Light from one side leaves the other side of your face or body in shadow. Hold up, or prop, something white on the shadow side: a foam board from a craft store, a white towel, a pillowcase over a baking tray. Move it closer for more fill, farther for less. Silver car sunshades work as stronger reflectors.
- Window plus curtain: your main light, free.
- White board or sheet: fills in shadows, almost free.
- One dimmable lamp or ring light: for evenings and dark days.
- Phone tripod or a stack of books: keeps every frame steady.
💜03. Ring light or softbox: which do I need?
Neither, to start. When you do want light that doesn't depend on the weather, pick one and learn it well. A ring light is compact and great for face-forward selfies and talking to camera, but it can look flat and leave a ring reflection in your eyes. A softbox or a lamp with a large shade gives softer, more natural-looking light across your body, but takes more space.
Whatever you choose, look for adjustable brightness and color. Set every light in the room to the same color, warm or cool, and switch off the overhead bulb. Mixed colors are the most common reason skin looks greenish or orange in home content.
Place your main light a little above eye level and off to one side, angled down toward you. Straight-on light flattens; slightly from the side shapes your face and body.
💜04. How do I keep my home private in my content?
Before every shoot, look at the frame the way a stranger would: anything with your address, your face in a family photo or a recognizable view out the window can say more about where you live than you mean to share.
A dedicated corner makes this easier, because you only have to clear it once. Our guide to Fanvue privacy settings covers the account side, from stage names to geo-blocking countries.
Read our Fanvue privacy settings guide →
💜05. Do I need a separate setup for my profile photo?
No, but plan for it. Your profile photo and banner are public, and Fanvue's public profile guidelines ask for safe-for-work looks: fully clothed casual, lifestyle, fitness, cosplay or glamour, or opaque swimwear or lingerie, with no nudity or see-through outfits. Shoot a few of those in your corner each session so you always have something fresh.
Profile and bio tips that get you seen →
That photo also becomes your card on FreeVues, our free directory of Fanvue creators. We build your listing from your public Fanvue profile and refresh it every day, so better light on Fanvue shows up with us too. Joining is free, and you approve it on Fanvue's own screen.
List yourself free on FreeVues →
💜06. Light first, gear later
Start with a window, a curtain and something white to bounce light. Add one good lamp when you're ready, keep every bulb the same color and keep your corner clear of personal details. A small, consistent setup beats an expensive one you never get around to using.
Quick answers
💬What's the cheapest lighting setup for content creators?
A window with a thin white curtain as your main light, plus a white sheet or foam board to bounce light into the shadows. Add one dimmable lamp or ring light later for evenings.
💬Is a ring light good for Fanvue content?
It's handy for face-forward selfies and talking to camera, and it's compact. It can look flat and leaves a ring reflection in your eyes, so a softbox or large lampshade suits full-body shots better.
💬Why does my skin look orange or green in photos?
Usually mixed light, like a warm lamp plus cool daylight. Turn off overhead bulbs and set every light in the room to the same color.
💬How do I keep my house private in my photos?
Clear mail, family photos, labels and distinctive views out of frame, and check mirrors and dark screens for reflections. Shooting in one dedicated corner makes it easier to keep clear.
💬Do I need a backdrop for my content?
Not a bought one. A plain wall, neutral bedding or a tidy corner works well, and using the same spot each time makes your feed look consistent.